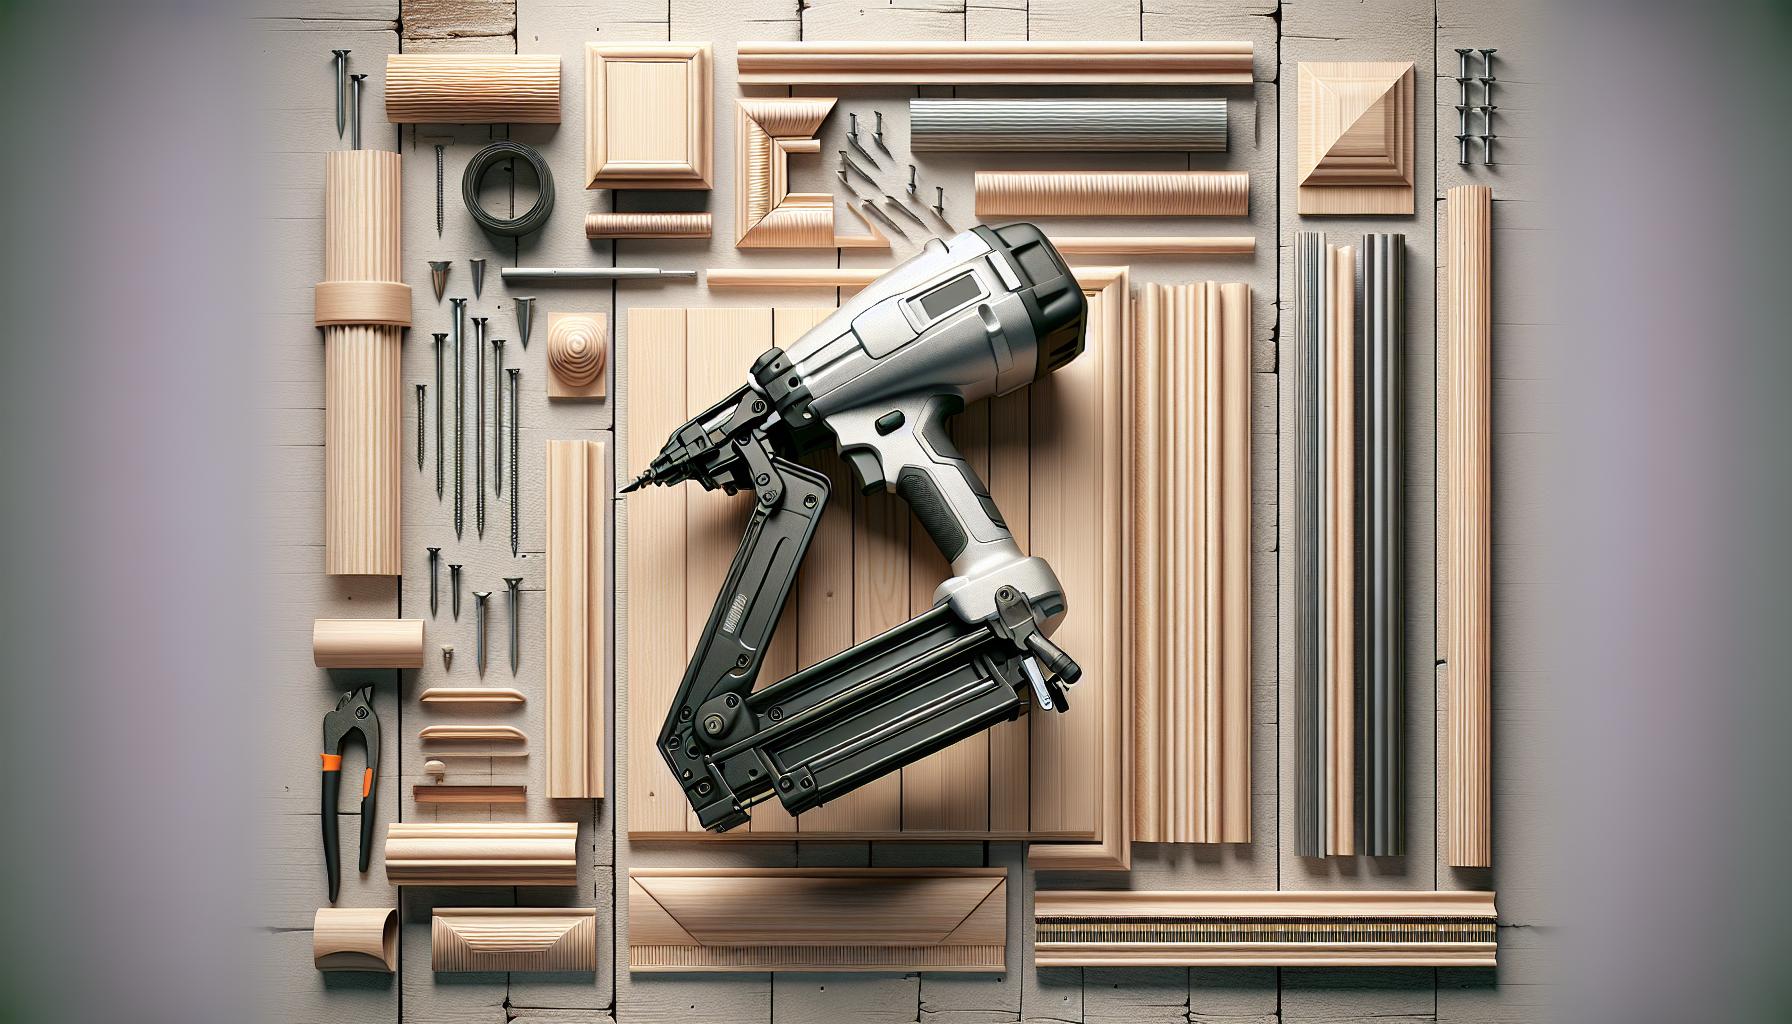
When tackling a trim project, choosing the right nailer is crucial for that flawless finish. I’ve been there, weighing the pros and cons of a finish nailer versus a brad nailer. It’s all about the details, and I’m here to help you nail it—pun intended.
Finish nailers and brad nailers may seem similar at a glance, but they serve very different purposes. I’ll break down the key differences to ensure you’ve got the perfect tool in hand for your trim work. Whether you’re a seasoned pro or a DIY enthusiast, getting to grips with these tools can make all the difference in your project’s outcome.
Comparing Finish Nailers and Brad Nailers
When tackling a trim project, knowing the subtle differences between finish nailers and brad nailers is critical. I’ve found that a finish nailer is typically used for thicker, more substantial pieces of trim due to its ability to shoot larger gauge nails, which offer greater holding strength. These are generally 15 or 16-gauge nails, robust enough to secure baseboards, crown molding, and window casings reliably.
In contrast, a brad nailer employs smaller 18-gauge nails, which makes it suitable for more delicate trim work where splitting the wood is a concern. Brad nailers are my go-to choice for light trims, such as shoe moldings or quarter-rounds, where the thinner nails provide sufficient hold without causing damage.
Here’s a quick rundown of some of their core features:
- Finish Nailer
- Brad Nailer
As I’ve continued working on various projects, I’ve noticed that finish nailers can handle more substantial and multi-purpose tasks, whereas brad nailers excel in finesse and precision roles. Knowing when to use each can significantly impact the final appearance and durability of your project. For those working with medium-density materials, the finish nailer’s strength is often crucial, whereas the brad nailer’s subtle touch is perfect for thinner, more delicate surfaces.
When it comes to the longevity and finish of your trim, using the correct nail size and type is just as important as the material you choose. Both tools have their place in your arsenal, and mastering their use can elevate your trim work from good to exceptional.
What is a Finish Nailer?
As a veteran of countless trim projects, I’ve come to appreciate the power and versatility of finish nailers. Designed for thicker and heavier trim work, finish nailers are a type of pneumatic or electric nail gun that drives larger gauge nails, typically in the range of 15 to 16 gauge, which deliver greater holding strength than their brad nailer counterparts.
Finish nailers are my go-to when I’m working on baseboards, crown molding, or window and door casings. These tasks require a strong bond to the wall, and a finish nailer makes light work of providing this. It allows me to work confidently, knowing that the larger head of the nails will ensure that the trim stays securely attached for years to come.
The versatility of a finish nailer can’t be overstated. Not only are they ideal for trim work, but they’re also robust enough to tackle tasks like assembling cabinets and attaching staircases. Here’s a quick glance at why a finish nailer is an indispensable tool in my kit:
- Suitable for thick materials: Finish nailers can easily penetrate hardwoods and other dense materials.
- Power: Their drive is strong enough to secure heavy pieces without the worry of nails bending or not going all the way in.
- Size Range: Nails used in finish nailers can be anywhere from 1 to 2.5 inches in length, giving me flexibility depending on the project requirements.
One thing I always keep in mind is the visibility of the nail holes. While these are typically larger than those left by brad nails, a bit of wood filler and paint or stain can make them virtually disappear. This minor trade-off is well worth the added stability and strength when dealing with substantial trim.
Understanding when to use a finish nailer is key to a flawless finish. It’s the difference between a secure, professional-looking piece and a trim that could potentially loosen over time. As someone who takes pride in their craft, knowing I’ve chosen the right tool for the job is akin to an artist selecting the perfect brush—it makes all the difference in the final product.
What is a Brad Nailer?
While finish nailers are known for their sturdy hold on thick trim, brad nailers hold a unique place in the world of finish carpentry. A brad nailer is a specialized tool used to attach delicate trims and moldings without the risk of splitting the wood. It’s my go-to tool for lighter finish work where a less visible nail hole is ideal.
Brad nailers use 18-gauge nails, commonly referred to as brads, which are significantly thinner than the 15 or 16-gauge nails used in finish nailers. Brads have a smaller head and are less likely to cause wood to split when driven, making them perfect for delicate trims and smaller, thinner pieces of wood.
- Advantages of brad nailers include:
- Less likelihood to split thin trim
- Nails are barely visible once in place
- Ideal for small or delicate trim work
But it’s not just about the reduced risk of splitting wood. Brad nailers offer excellent holding power for light trims. However, it’s essential to remember that the fine 18-gauge brads don’t have the same holding strength as larger nails. They are best suited for applications where the trim or molding will not be subjected to significant pulling or stress.
My experience tells me that brad nailers are an essential tool for certain projects. They work wonderfully for attaching decorative moldings, trim around windows and doors where the finish is more important than hold, or crafts and furniture where the trim is more ornamental than functional.
Professionals and DIY enthusiasts should note that while brad nailers are versatile, they’re not appropriate for heavy-duty tasks. For example, they might not be the best choice for installing thick baseboards or any project where the trim has to bear weight or endure heavy use. In such cases, a finish nailer’s added holding power is indispensable.
Understanding the brad nailer’s place in the lineup of finishing tools helps ensure that I’m reaching for the right nailer for every job. With the correct tool in hand, delivering impeccable results without compromising the integrity or aesthetic of the woodwork becomes a much more straightforward task.
The Advantages of a Finish Nailer for Trim Work
When tackling a trim project, selecting the right nailer is crucial for a job well done. I’ve found that a finish nailer comes with its own set of advantages that make it particularly suitable for certain types of trim work. Finish nailers handle 16 to 15 gauge nails, which provide a robust hold, perfect for heavier trim like crown moldings and baseboards.
Here’s what sets a finish nailer apart:
- Holding Power: The bigger nails shot from finish nailers offer increased holding strength. This is essential when installing heavier pieces of woodwork that need to stay fixed against the walls or ceilings.
- Versatility: Not only are they ideal for trim work, but finish nailers are also versatile enough to be used in an array of woodworking projects, such as cabinet making and staircases.
- Durability: A finish nailer is built to withstand the rigors of more substantial materials. It means I can work on high-volume projects without worrying about the tool wearing down quickly.
The nails used in finish nailers typically range from 1 to 2.5 inches in length, allowing for a secure attachment through various materials. Additionally, the nails’ size can inhibit wood splitting, an issue that lighter gauge brad nails might cause in thicker trims.
While it’s clear finish nailers are not as adept as brad nailers in handling the most delicate trims, their power and size are advantageous for trim work when sturdiness is paramount. I always consider the end use of the piece, the type of trim, and the potential for wood splitting to decide if a finish nailer is the right choice for my project. That said, a finish nailer is an indispensable tool in my arsenal for most trim jobs, owing to its powerful, reliable nature.
The Advantages of a Brad Nailer for Trim Work
While finish nailers shine in robust hold and versatility, brad nailers have their own set of advantages when it comes to trim work. One key benefit is precision. Brad nailers use finer, smaller gauge nails, usually 18-gauge, which makes them ideal for attaching delicate trims and moldings where a larger nail might cause damage. Their smaller head ensures the nail can be sunk flush with the surface easily or even just below, and with a bit of wood filler, the nail heads can be made practically invisible.
Ease of handling is also a significant advantage. Brad nailers are typically lighter and more maneuverable than finish nailers, making them less tiring to use over extended periods. This is particularly useful when working on projects that require a high level of detail or in awkward positions like when attaching trim to cabinetry or doing work overhead.
Moreover, the risk of wood splitting is greatly reduced with brad nailers due to the thinner nails. This makes them the go-to choice when working with thin or delicate materials that could potentially split or crack with thicker gauge nails used in finish nailers.
Here are some quick facts to consider when comparing the two:
| Nailer Type | Nail Gauge | Ideal Use Case | Risk of Splitting |
|---|---|---|---|
| Finish | 15-16 | Heavier trim, baseboards | Moderate |
| Brad | 18 | Delicate trim, detail work | Low |
Brad nailers not only ensure the integrity of your work but also help in achieving a high-quality finish. They’re particularly beneficial when working with pre-painted or pre-finished trims since their smaller nails are less likely to chip or mar the surface.
It’s important to remember that while brad nailers may not provide the same level of holding power as finish nailers, they compensate with their suitability for more intricate work. My experience suggests that for finer work that requires deft handling and subtlety, a brad nailer is often the superior choice.
As woodworking projects can vary greatly, so too should the tools we use. And as I tackle different types of trim work, I find reaching for a brad nailer just as often as I might a finish nailer, each tool playing its pivotal role within my toolkit.
Choosing the Right Nailer for Your Trim Project
When it’s time to tackle a trim project, picking the right tool is crucial. It’s important to consider the type of trim you’re installing, the material it’s made from, and the desired finish. Let’s dive into what to look for when choosing between a finish nailer and a brad nailer for your specific project needs.
A finish nailer is typically my go-to tool when I’m working with thicker or harder pieces of trim. These nailers use larger gauge nails, which provide a stronger hold. They’re perfect when I’m installing baseboards, crown molding, or door and window trims made of heavier materials like hardwood. The larger head of the nails ensures the trim stays securely attached.
On the flip side, if your trim work involves more delicate materials or requires a subtler approach, a brad nailer is often the better option. Brad nails are thinner and less noticeable, making them a great choice for intricate detailing or for securing trims that have been pre-finished and cannot be puttied or painted over easily. They are the go-to when minimal surface disruption is a priority.
Here is a quick summary of considerations:
- Trim thickness: Finish nailers for heavy trims; brad nailers for delicate ones
- Material: Hard materials match well with finish nailers; softer or pre-finished materials with brad nailers
- Finish: Finish nailers if the surface can be puttied; brad nailers for a clean, less intrusive finish
The project’s scale also comes into play. If I’m working on a large installation, I lean towards a finish nailer simply because of its holding power. However, for smaller projects or when ease of maneuverability is essential, the lightweight design of the brad nailer makes it a compelling choice.
Always remember to match the nailer to both the project scope and the specific durability requirements of the trim you’re working with. It ensures not only the success of the installation but also enhances the overall aesthetic quality of the finished work.
Factors to Consider When Making Your Choice
When it’s time to decide between a finish nailer and a brad nailer for your trim work, evaluating several critical factors will guide you to the right tool for the job. I’ll cover these essential points to help you make an informed decision.
Trim Material and Size
The type of trim you’ll be installing has a significant impact on the choice of nailer. Finish nailers use larger nails, which offer a stronger hold, making them perfect for:
- Thicker woods
- Denser materials
- Wider trim profiles
Conversely, brad nailers are designed for:
- Thinner, more delicate trim
- Lightweight materials
- Projects where a less visible nail head is preferred
Aesthetics
If you’re aiming for a seamless, nearly invisible fastener presence, brad nailers are the go-to choice. Their smaller gauge nails are less likely to split narrow trim or leave noticeable holes, which means less putty and sanding work for you.
Project Scale
Think about the scale of your project:
- Large-scale jobs with extensive trim might benefit from the strength and speed of a finish nailer.
- Smaller, more detail-oriented tasks where precision is key tend to favor brad nailers.
Durability Requirements
Assess the long-term durability needs of your trim. Areas with high traffic or those prone to impact will need the robust holding power of finish nails. However, for decorative trim in low-impact areas, a brad nailer’s finesse might be all that’s required.
Ultimately, the ideal nailer for your trim project balances strength, aesthetic finish, and the nature of the woodwork involved. Matching the nailer to the project ensures not only ease of installation but also the enduring quality of the finished work.
Tips for Using a Finish Nailer for Trim Work
When embarking on a trim project, having the right tools is as crucial as the technique applied. With a finish nailer in hand, I’m equipped to tackle the toughest of trim jobs. Below I’ll share some expert tips to make the most out of using a finish nailer for trim work.
First things first, always select the correct nail size. A finish nailer typically accommodates nails from 1 to 2.5 inches. For most trim work, I find that 1.5 to 2-inch nails provide the ideal hold without risking damage to the wall or the trim. Keep in mind that thinner or more delicate trims might require shorter nails to prevent splitting the wood.
I also can’t stress enough the importance of nail placement. When securing trim, I aim for the thicker parts to ensure a solid grip. Avoid nailing too close to the edge, which can lead to unappealing splits. For an invisible finish, I angle the nailer slightly so the nail heads will sit just below the surface; this allows for easy putty application and a seamless paint job.
Safety is a priority. I always wear safety glasses and maintain a firm grip on the nailer. A misstep here can lead to unfortunate accidents. Keep safety at the forefront of any project.
Additionally, staggering the nails helps in preventing the wood from warping. I space nails about 16 inches apart, aligning with standard stud spacing, which offers a stable hold across the trim’s length.
Lastly, before beginning the actual installation, I test the nailer on a spare piece of trim. This preliminary step ensures that the depth and force settings are just right and won’t damage the trim or leave nails protruding.
By following these tips, using a finish nailer for trim work can be a breeze. The precision and holding power of a finish nailer make it an indispensable tool in achieving professional-looking results. Remember to work carefully, always prioritizing both craftsmanship and safety.
Tips for Using a Brad Nailer for Trim Work
When tackling trim projects, a brad nailer can be my go-to tool for fine, detailed work. This power tool shoots thin 18-gauge nails, perfect for attaching lightweight trim without splitting the wood. Here’s what I’ve learned about getting the best results from a brad nailer.
First and foremost, choose the right nail length. For trim work, it’s often recommended to use a nail that’s at least three times the thickness of the material being fastened. This ensures a secure hold without excessive nail protruding through the back.
Proper nail placement is crucial. I aim to drive nails into the thicker parts of the molding to provide better hold and to reduce the risk of the wood splitting. It’s also important to keep a steady hand while nailing, as brad nailers require precision.
Avoid marring the trim by using a no-mar tip. This small, often rubber-tipped attachment fits over the nose of the nailer to protect the wood’s delicate surface. Without it, the impact of the nailer could dent or damage the trim.
Stagger the nails to prevent the molding from warping or buckling over time. This means placing them at varying intervals and depths. I also ensure to nail at significant points like corners and joints where the trim is most likely to separate or shift.
Remember to calibrate the air pressure. Brad nailers don’t require a lot of pressure to drive nails into the wood, so I adjust the compressor accordingly to avoid driving the nails too deep, which can create unsightly indentations in the wood.
For a flawless finish, I’ll fill the nail holes with putty and sand it down once it’s dry. A color-matched putty allows the filled spots to blend seamlessly with the trim. Sanding smooths the trim’s surface, preparing it for paint or stain.
Using the brad nailer with care and precision makes a noticeable difference in trim work. The smaller nails minimize the risk of wood damage and provide a clean look that’s essential for detailed projects.
Conclusion
Deciding between a finish nailer and a brad nailer for your trim work boils down to the project’s specifics. I’ve shared how a finish nailer offers robust holding power, making it ideal for most trim jobs, especially when coupled with the right techniques to protect your workpiece. For those intricate details where a smaller head is paramount, a brad nailer is your go-to. Remember, it’s not just about the tool but also how you use it. So whether you’re opting for the heft of a finish nailer or the precision of a brad nailer, mastering the application will ensure your trim work stands out with a professional touch. Choose wisely and your trim will not only look stunning but will also stand the test of time.
Frequently Asked Questions
What is a finish nailer and why is it beneficial for trim work?
A finish nailer is a power tool designed for driving nails into trim and moldings. It allows for a stronger hold and is beneficial for trim work because it creates a more secure and professional finish than using a hammer and nails manually.
Can I use a finish nailer for delicate trim work?
While a finish nailer is typically used for heavier trim, for fine and detailed trim work, it’s often recommended to use a brad nailer instead to ensure a clean look without splitting the delicate wood.
What should I consider when choosing nail length for a finish nailer?
When choosing nail length for a finish nailer, it’s essential to select a size that’s at least three times the thickness of the material you’re nailing to ensure a secure hold without poking through the opposite side.
How can I avoid damaging the trim with a finish nailer?
To avoid damaging the trim with a finish nailer, use a no-mar tip, which prevents the tool from leaving indentations or marks. Also, handle the tool with care and apply pressure evenly when nailing.
Why is it important to stagger nails in trim work?
Staggering nails in trim work helps to prevent the trim from warping or bending over time. This technique distributes the holding power evenly along the length of the trim, maintaining its proper alignment.
How do I properly calibrate air pressure for my finish nailer?
Properly calibrating air pressure for your finish nailer involves testing on scrap pieces of trim and adjusting the pressure until the nails are being driven to the correct depth without over-penetration or under-driving.
What is the final step for a flawless finish when using a finish nailer?
The final step for a flawless finish when using a finish nailer is to fill the nail holes with wood filler, sand until smooth, and then paint or stain as desired. This provides a clean and professional appearance.

Reader Interactions