When tackling a woodworking project, choosing the right tool for the job is crucial. I’ve often found myself in the aisle of a hardware store, weighing the pros and cons of a brad nailer versus a finish nailer, and let’s not forget the sleek pin nailer. It’s a common dilemma for DIY enthusiasts and professionals alike, and it’s about time we cleared up the confusion.
Each nailer has its unique strengths and ideal uses that can make or break the final look of your project. I’m here to guide you through the nuances of these nail guns, ensuring you’ll nail your next project with the precision it deserves. Let’s dive into the world of brad, finish, and pin nailers and discover which one will be your go-to for that perfect finish.
What is a Brad Nailer?
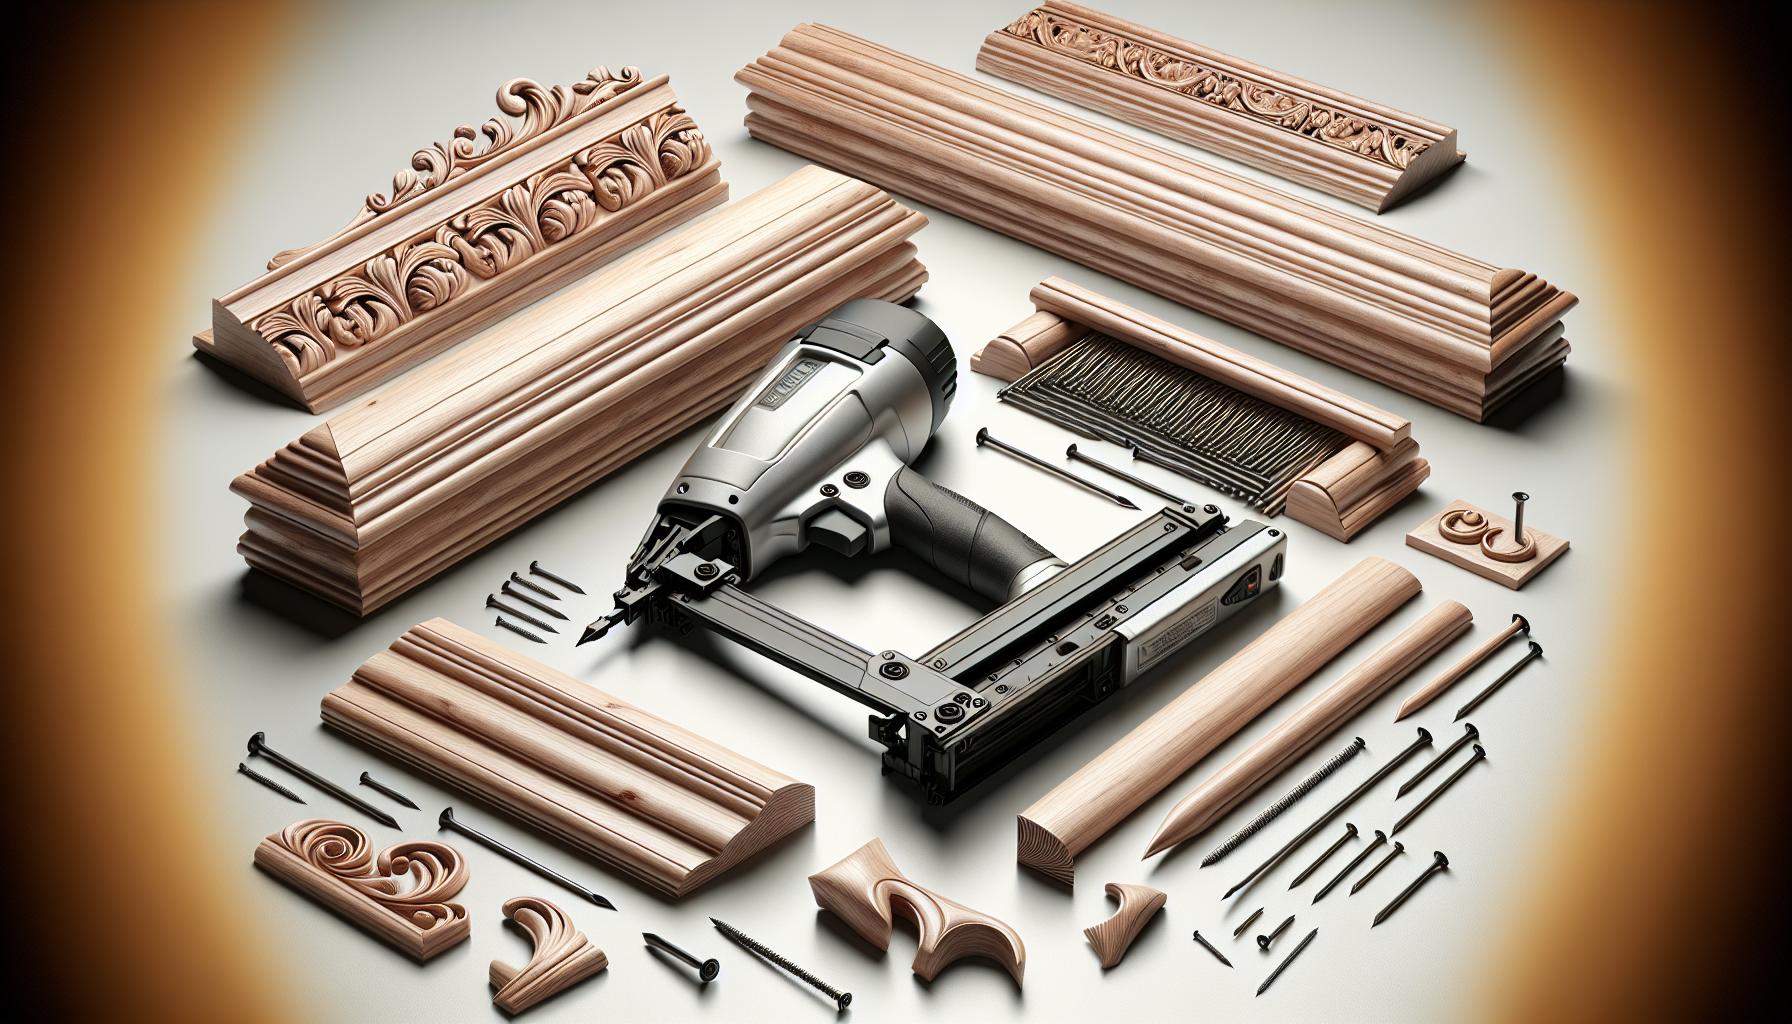
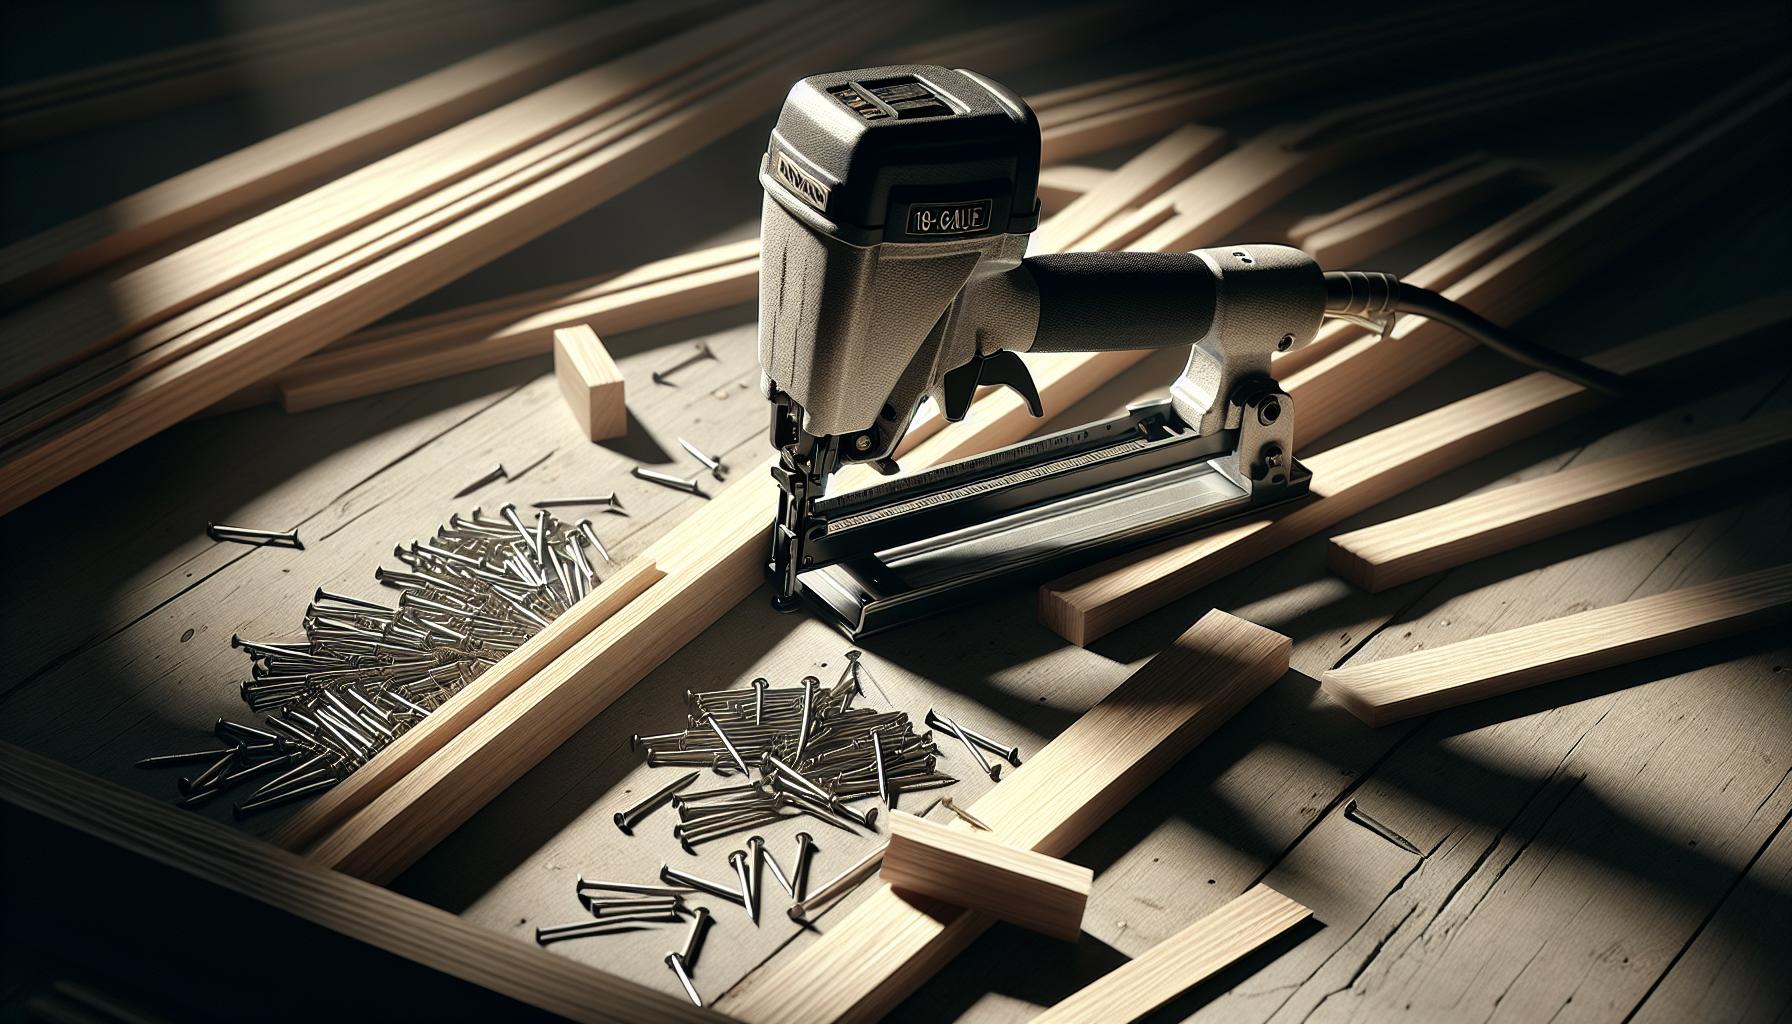
When tackling delicate woodworking tasks, a brad nailer is my go-to tool. This nifty device is like the younger sibling in the nail gun family, specifically designed to handle 18-gauge nails, commonly referred to as brads. These brads typically range in length from 5/8 inch to 2 inches. Due to their thinner gauge, they are perfect for attaching lightweight trim without the risk of splitting the wood.
I find that a brad nailer’s precision is unmatched for smaller projects. It’s ideal for:
- Craft-building
- Trim work
- Molding
One aspect of the brad nailer that’s particularly appealing is the small hole it leaves behind. This means I spend less time on wood filling and sanding, making my project timeline more efficient. Also, in most cases, the hole can be so inconspicuous that it’s virtually invisible after a coat of paint or stain.
The key technical features of a brad nailer that stand out are:
- Pneumatic or Electric Options: Brad nailers come in both pneumatic and electric models, offering versatility depending on the availability of a power source or an air compressor.
- Adjustable Depth: Many brad nailers have an adjustable depth feature which allows for precise control over nail depth, a critical factor for professional-looking results.
- Size and Weight: They’re typically lighter and more maneuverable than their larger counterparts, making them a breeze to use for extended periods.
While it may not be suitable for heavier-duty tasks that require more holding power, the brad nailer shines in situations where I need to preserve the integrity of delicate trim or finish work. It’s also worth mentioning that while they provide decent holding power, brads should not be relied on for structural joints or where high strength is required. For those heavier applications, I’d consider stepping up to a finish nailer, which we’ll dive into next.
Pros and Cons of Using a Brad Nailer
When it comes to brad nailers, there’s much to consider in terms of benefits and drawbacks. I’ve gathered valuable insights to help you weigh your options.
Pros of a Brad Nailer
Precision and Clean Finish: Brad nailers are renowned for their precision, making them a staple in my toolkit for delicate woodworking projects. The 18-gauge nails guarantee a clean finish, which is particularly crucial when detail is king.
- Preserving Material Integrity: I’ve observed brad nailers are less likely to split fine trims and moldings compared to their heavier counterparts. This delicacy is a core benefit of the tool.
- Minimal Post-Work: Often, the holes left by the brads are so small they’re almost invisible, saving me significant time on wood filling and sanding.
Versatility: Despite their delicate nature, brad nailers still offer surprising versatility. They can handle a wide range of tasks from attaching lightweight trim to crafting detailed woodwork.
Cons of a Brad Nailer
Limited Holding Power: For all their precision, brad nailers fall short in holding power. This isn’t the tool I’d reach for when I need to secure heavier moldings or joints that’ll undergo significant stress.
- Not Suitable for Large Projects: When tackling larger woodworking tasks, you’d find that brad nailers aren’t the ideal choice. They lack the strength of finish nailers or framing guns for more substantial materials.
Dependency on Compressor: If you’re using a pneumatic brad nailer, you’re tethered to a compressor. I’ve found this limits mobility and adds a layer of preparation and consideration, especially on job sites where space and power sources may be limited.
Despite these drawbacks, brad nailers have their place in my arsenal of tools due to their specific applications. Their ability to deliver a clean finish with minimal damage to delicate materials is unmatched. Whether I’m adding the final touches to a piece or working with thin, delicate woods, brad nailers offer a balance of finesse and functionality that can’t be overlooked.
When to Use a Brad Nailer
In the realm of woodworking and finish carpentry, knowing when to reach for a brad nailer is key to achieving desired outcomes with efficiency. Working with intricate trim work or delicate materials? That’s where a brad nailer shines. The thin gauge brads, typically 18-gauge, are perfect for these applications where the larger head of a finish nail might be too conspicuous or where splintering is a concern.
With my experience in trim carpentry, I’ve found several scenarios where a brad nailer is the optimal choice:
- Attaching Lightweight Trim: Brad nailers are ideal for baseboards, chair rails, and crown moldings where the piece isn’t subjected to heavy stress.
- Crafting Detailed Projects: When precision matters in delicate craftwork or custom cabinetry, a brad nailer is my go-to. It leaves a neat finish that rarely requires extensive putty work or touch-ups.
- Small Furniture Repairs: For tasks like fixing a loose wooden frame or re-securing a thin back panel, the brad nailer offers sufficient hold without the risk of wood damage.
In my workshop, I’ve found that while a brad nailer can’t replace the strength provided by larger nails or screws, it’s indispensable for its intended range of tasks. It’s also worth noting that while a brad nailer isn’t suitable for structural work, it can be perfectly paired with wood glue in joinery work to provide a surprisingly strong bond, given the pieces are clamped properly while the glue sets.
Home DIY enthusiasts should consider the ease of use of electric brad nailers. They’re portable and don’t require an air compressor, making them quite versatile for small home projects. On the other hand, professionals might prefer the more powerful pneumatic models for consistent performance across numerous projects.
Keep in mind, the material thickness and density are crucial factors. Generally, the brad I’d choose should be long enough to penetrate at least 3/4 of the thickness of the underlying material to ensure reliability without the risk of poking through the other side.
What is a Finish Nailer?
Moving on from the discussion of brad nailers, let’s delve into finish nailers. These tools are a step up in terms of size and holding power. Where brad nailers specialize in delicate work, finish nailers are designed for heavier jobs that still require a subtle touch. My experience has shown that when my projects demand a mix of strength and finesse, a finish nailer is typically my go-to tool.
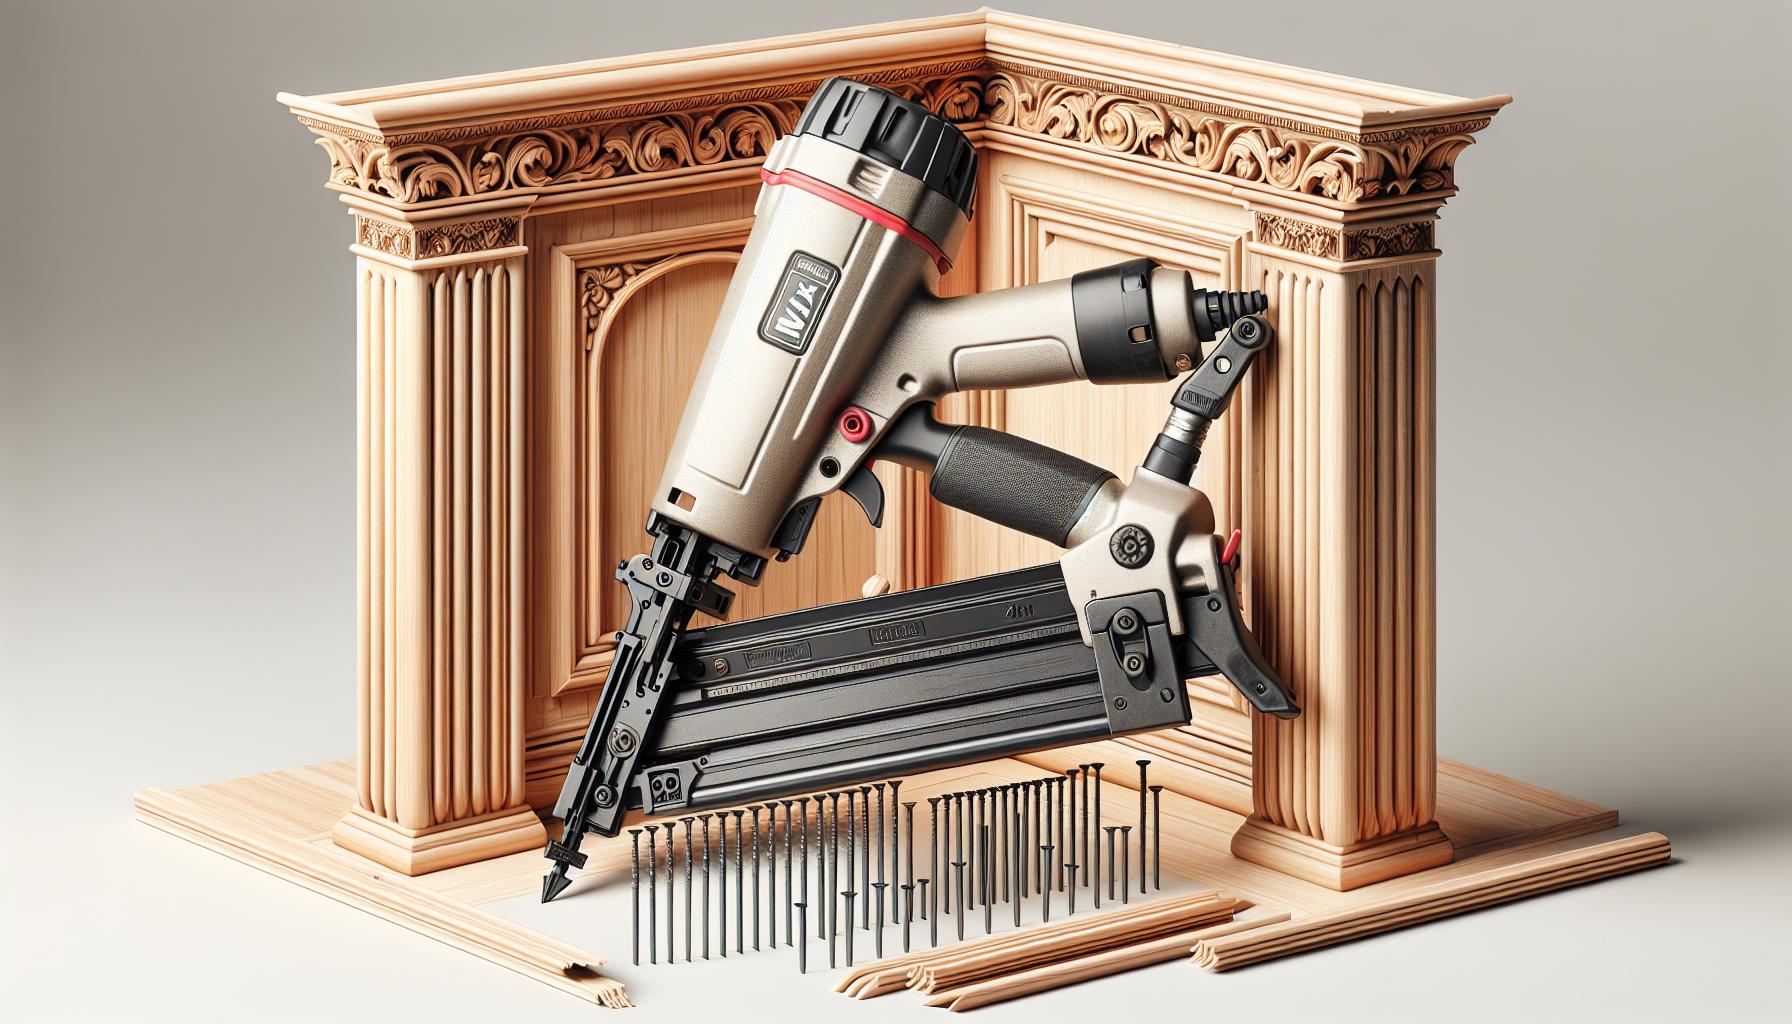
Finish nailers use thicker nails, typically 15 to 16 gauge, which means they can securely fasten larger and heavier trim and moldings without splitting the wood. This makes them ideal for jobs like:
- Installing door and window casings
- Chair rails
- Baseboards
- Crown moldings
Furthermore, the larger heads of the nails used in a finish nailer ensure a more robust hold, which can be vital for structural elements or pieces that will endure frequent stress. Unlike brad nailers, these tools can handle dense and thick materials much more efficiently.
Electric and pneumatic options are available for finish nailers as well, and like with brads, your choice will depend on the nature of your work and your personal preference. Pneumatic finish nailers are often more powerful and, therefore, a favorite among professionals. Electric models, on the other hand, offer convenience and portability for DIY enthusiasts.
One key aspect to remember when using a finish nailer is to always account for the larger size of the nail. Pre-drilling might be necessary to avoid wood splitting, especially near the ends of the trim or in very delicate woods. This precaution might add time to the job, but it’s crucial for a clean, professional finish.
Ultimately, the strength and versatility of finish nailers make them a worthy component in any woodworker’s arsenal. With their aid, I’ve completed numerous projects with a professional look and durable bond that stands the test of time.
Pros and Cons of Using a Finish Nailer
When I’m working on a woodworking project that calls for a heavy-duty approach, I often turn to my finish nailer for its robust performance. Finish nailers use thicker nails compared to brad nailers, ranging between 15 and 16 gauge, which makes them an excellent choice for larger trims and more substantial material.
The Plus Side:
- Stronger Holding Power: The thick nails provide a stronger hold, making it ideal for heavy applications such as baseboards and crown moldings.
- Versatility: Finish nailers can handle a wide range of woodworking and trim projects.
- No Pre-drilling: Often, I don’t have to pre-drill holes which speeds up the installation process.
- Potential for Wood Splitting: The larger size nails can split smaller or thinner pieces of wood if I’m not careful.
- Size and Weight: They are usually larger and heavier, making them a bit cumbersome for long periods of use.
- Cost: Finish nailers and their nails are typically more expensive than brad nailers.
For those tasks where precision is key but the workpiece demands a firm attachment, a finish nailer is hard to beat. Most models are very reliable and safety features help minimize the risk of accidental discharges. But just like any other power tool, a finish nailer has a specific scope of use.
Since finish nailers come in both pneumatic and electric models, I have the flexibility to choose based on my preferred power source. Pneumatic finish nailers are known for their consistent power output, and while they do require a compressor, they’re my go-to when I need to ensure the job gets done efficiently.
Remembering to keep an eye on the nail length is crucial. Using too long of a nail can lead to them poking through the other side of the workpiece. But with a little know-how and attention to detail, the finish nailer serves as a dependable, time-saving tool in my arsenal.
When to Use a Finish Nailer
Determining the right moment to use a finish nailer can greatly impact the outcome and durability of your woodworking projects. Typically, I’ll reach for my finish nailer for tasks that require a bit more heft and holding power, but still demand a clean look without the brawn of full-sized nails. Finish nailers are a superb match for several specific tasks in woodworking and carpentry.
Projects well-suited for finish nailers usually involve thicker trims and materials that brad nailers might not be able to handle efficiently. Here’s a quick rundown of ideal situations for a finish nailer:
- Installing Baseboards and Crown Molding: These are the classic jobs for finish nailers. The extra thickness and weight of these materials mean they require the additional grip that finish nails provide.
- Door and Window Casings: To ensure a secure fit that’ll stand the test of time, finish nails offer the right combination of strength and discreet appearance.
- Chair Rails and Cabinetry: When I’m working on chair rails or assembling cabinets, the holding power of finish nails is essential to keep everything in place, especially in areas subject to frequent use or movement.
Finish nailers are also my go-to tool when dealing with hardwood. Softwoods might be forgiving, but hardwoods can be unforgiving, sometimes leading brad nailers to bend or not penetrate fully. With the thicker gauge of finish nails, I don’t have to worry as much about the nails not doing their job properly.
It’s important to be aware of the wood you’re working with when using a finish nailer. Hardwoods like oak or maple can occasionally require pre-drilling to avoid splitting — a step you’ll want to integrate into your workflow carefully to maintain workpiece integrity.
While pneumatic models are a professional favorite due to their power, electric finish nailers have made strides in performance and could be a feasible option for hobbyists or less frequent users who might not have a compressor. Regardless of the type, a finish nailer is a potent ally in achieving a clean, professional look with enough hold to last.
What is a Pin Nailer?
When diving deeper into the world of nail guns, I’ve come to appreciate the precision of a pin nailer. Pin nailers are the most delicate of the nail gun family and are designed for tasks where subtlety is key. They’re built to fire headless, 23-gauge pins, which are the smallest available fasteners for nail guns. These tiny pins leave virtually no trace after they’ve been nailed into the material, ensuring a clean, nearly invisible finish.
The pin nailer’s strength lies in its ability to handle intricate woodworking projects. They’re not meant for heavy-duty work but excel in attaching delicate trims and thin veneers where larger nailers might cause damage. I’ve found pin nailers to be indispensable for tasks like securing small decorative moldings, attaching glass frames, or when working on fine furniture repair.
Key Uses Include:
- Light trims and moldings
- Cabinet doors and small box constructions
- Thin veneers
- Delicate woodworking projects
Unlike their larger counterparts, pin nailers do not possess the same holding power. This means they’re often used in conjunction with wood glue to ensure a more secure bond. Also, due to their slight nature, pins can bend easily if they hit a hard knot in the wood or are used at incorrect angles. Despite these limitations, for tasks that require an especially soft touch, I’ve found that a pin nailer is my go-to tool.
As far as power options go, pin nailers come in pneumatic and electric variants. Pneumatic models are more common and rely on an air compressor for their power, offering consistency and reliability for prolonged use. The electric models, on the other hand, offer convenience and portability, with no hoses or compressors needed, making them ideal for quick, on-the-go jobs or in situations where I’m looking for a hassle-free setup.
My experience suggests that the pin nailer holds a unique position for finishing touches, providing exemplary results where larger nails might blemish the project. I’m constantly impressed by the clean finish and the level of detail I can achieve with this tool, which has become a fixture in my woodworking toolkit.
Pros and Cons of Using a Pin Nailer
When considering a pin nailer for my woodworking projects, I always weigh the advantages and disadvantages to determine if it’s the right fit for the task at hand.
Pros of Using a Pin Nailer:
- Less Wood Damage: The 23-gauge pins used by pin nailers are incredibly thin, meaning they’ll leave hardly any trace on the workpiece. I find this essential for finishing touches on delicate pieces where aesthetics are paramount.
- Perfect for Small Pieces: With their fine pins, these nailers are ideal for securing small or thin materials that might split with larger nails.
- Increased Accuracy: The slim profile of a pin nailer allows for improved visibility which enhances my accuracy during detailed work.
- No Need for Fillers: Since the holes are virtually invisible, there’s often no need to go back and fill them, saving me time and materials.
Cons of Using a Pin Nailer:
- Lower Holding Power: Even though the pins are discrete, they don’t provide the same holding strength as brad or finish nails. For my projects requiring a sturdier bond, I’ll often have to rely on adhesive as a supplement.
- Not for Structural Use: Pin nailers aren’t suited for projects that bear a load or require structural integrity. I avoid using them for any application where the strength of the joint is a critical factor.
- Limited to Interior Use: Due to their size and strength, pin nails are typically not recommended for exterior applications where elements like wind or moisture can affect the material.
Choosing between a pin nailer and other types of nailers depends on the specific requirements of the project. While the refined finish offered by a pin nailer is unmatched, it’s essential to consider the final application and required durability before deciding. For delicate trims and precision work that isn’t structural in nature, a pin nailer often becomes my go-to tool. However, for tasks that demand robust joinery, I’ll opt for a brad nailer or finish nailer to ensure the necessary longevity and strength.
When to Use a Pin Nailer
Recognizing the right moment to use a pin nailer can make a significant difference in the quality and integrity of your woodworking projects. I’ll walk you through scenarios where a pin nailer isn’t just an option; it’s the best choice.
Pin nailers are an ideal tool when working with delicate trim pieces where splitting wood is a major concern. Their narrow, headless pins are almost invisible to the naked eye, which means no puttying is generally required for the holes. When I’m tackling projects involving intricate moldings, like picture frames or small craft items, my go-to is the pin nailer.
Here’s a quick rundown of the best uses for a pin nailer:
- Attaching delicate trims
- Composing detailed inlays
- Assembling small, lightweight pieces
- Securing veneers to furniture
- Final touches that require minimal wood disturbance
Another aspect where pin nailers shine is during pre-finishing. Where other nailers might cause damage that’s tough to conceal, the minuscule marks left by pin nailers are far less conspicuous. Because of this, they’re an excellent choice for tasks like glazing strips or small custom cabinetry pieces where you’ve applied the finish beforehand.
But it’s not just about the aesthetics. When you’re joining lightweight wood pieces, a pin nailer provides enough hold to keep everything in place until the adhesive sets—without the added bulk that could compromise the project’s design.
My experience has shown me that successful use of a pin nailer often boils down to understanding its limitations and playing to its strengths. It’s all about precision, and that’s where a pin nailer comes into its own. And while it’s not meant for heavy-duty jobs, this tool will be a craftsperson’s ally in adding those impeccable finishing touches that none of your clients will be able to overlook.
Comparing Brad Nailer, Finish Nailer, and Pin Nailer
When selecting the right nailer for a job, it’s vital to understand the distinct characteristics each tool presents. Brad nailers, finish nailers, and pin nailers may look similar, but they’re designed for different applications in woodworking. Let’s break it down feature by feature to help make the decision easier.
Brad nailers are almost like a middle ground between finish nailers and pin nailers in terms of nail size. They use 18-gauge nails, usually ranging from 5/8-inch to 2-inches in length. This makes them strong enough for moderately heavy trim work, yet they still leave a small enough hole that it’s easily concealed. I’ve found brad nailers ideal for attaching lightweight trim or moldings where a finish nailer might split the wood.
On the other hand, finish nailers are the more heavy-duty option, and they’re used when more holding power is required. They fire thicker 15 or 16-gauge nails, which are typically 1 to 2.5 inches long. These larger nails provide greater support for heavier trims, baseboards, and crown moldings. If you’re working on cabinetry or staircases, a finish nailer is often the preferred tool. The holes they leave are a bit more noticeable compared to those from a brad nailer, but a little wood putty helps blend them seamlessly.
Pin nailers sit at the other end of the spectrum, using the smallest 23-gauge headless nails. These nails are so fine that they can almost disappear into the wood, making pin nailers the go-to option for delicate pieces and fine detail work. Although they offer the least holding power, they excel in situations where looks are paramount and when you’re working with very thin or fragile materials. I’ll reach for my pin nailer for attaching delicate trim or for securing a piece in place while the glue sets.
- Brad Nailer: Perfect for light trim work, small moldings, and fine woodworking where nail visibility is a concern but some holding strength is needed.
- Finish Nailer: Suited for heavier trim work, cabinetry, and any application that demands more holding power and can accommodate a slightly larger nail head.
- Pin Nailer: The choice for intricate moldings, attaching thin veneers, or where minimal
Factors to Consider when Choosing Between Nailers
When selecting the right nailer for your project, it’s essential to consider several key factors. Project Type is the cornerstone of this decision. If you’re working on intricate trim or cabinetry, a pin nailer excels due to its delicate handling. For more substantial, yet not heavily load-bearing attachments, a brad nailer might be your best bet. When it comes to installing hefty baseboards, door casings, or crown moldings where a stronger hold is necessary, you’ll likely turn to a finish nailer.
Another critical aspect to take into account is the material you’ll be working with. Softer woods are much more forgiving with slender pin nails, which virtually disappear into the surface. In contrast, denser woods may require the increased grip strength provided by the larger heads and shanks of brad or finish nails.
Fastener Size is a significant consideration that can’t be overlooked. Pin nailers typically use 23-gauge headless pins, which are almost invisible but offer less holding power. Brad nailers step up to 18-gauge nails, giving a better hold without significant wood splitting risks. At the top of the size range, finish nailers use 15 or 16-gauge nails, ideal for a secure attachment in heavier trim work.
The Versatility of the nailer is another factor to ponder. If your projects vary widely, a nailer that handles a broader range of nail sizes offers more adaptability. Some nailers also come with features like adjustable depth settings or the ability to work with slight-angle nails, which can enhance their utility in different applications.
Lastly, don’t forget to weigh the Cost and Ease of Use. High-quality nailers might come with a steeper price tag but can provide better performance and longevity. Consider the balance between features, durability, and how comfortable you are using the tool. Heavier nailers might offer more power, but could they lead to fatigue over long periods of use?
Weighing all these factors will help guide you to the most suitable nailer, ensuring your woodworking projects come together effortlessly and with excellent results.
Conclusion
Deciding between a brad nailer, finish nailer, or pin nailer boils down to understanding your project’s unique needs. I’ve laid out the distinctions that’ll help you make an informed choice, whether you’re aiming for precision in delicate pieces or robust hold in larger builds. Remember, it’s not just about the nailer but how it aligns with your work’s demands. Choose wisely and your woodworking projects will not only look professional but also stand the test of time.
Frequently Asked Questions
What are the main advantages of using a pin nailer?
Pin nailers cause less wood damage, are suitable for small workpieces, and do not usually require the use of fillers due to their thin pins. They also increase accuracy for delicate woodworking tasks.
Are there any drawbacks to using a pin nailer?
Yes, pin nailers have lower holding power compared to other nailers, are not suitable for structural projects, and are generally not recommended for exterior applications due to their lack of strength.
When should I choose a pin nailer over other nailers?
You should choose a pin nailer when working on fine woodworking projects where the size of the nail head might cause damage, or when precision is paramount, and the holding power required is minimal.
What factors should I consider when choosing between different types of nailers?
Consider the project type, the material you’ll be working with, fastener size, the versatility needed, the cost, and how easy the tool is to use. These considerations will help you find the most suitable nailer for your job.
Can a pin nailer completely replace brad nailers or finish nailers?
No, each type of nailer has its specific use case. Pin nailers are great for delicate trim work where a smaller nail hole is ideal, but brad nailers and finish nailers offer more holding power for larger projects and applications.

Reader Interactions