Taking on a tiling project by yourself can be a daunting prospect. The best and most logical place to start is to make sure you have the correct tools for the job. This will ensure you can take on the project from start from finish with no delays due to missing an important tool. So what tools do you need?…
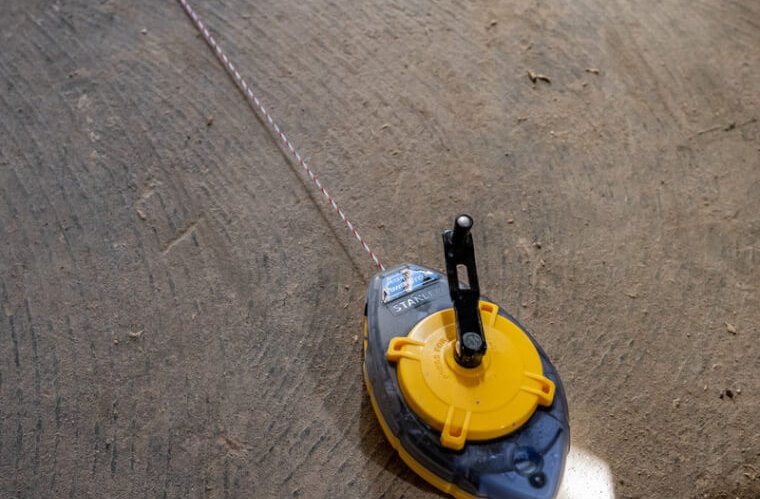
1. Chalk Line Kit
Defining the tiling line and marking distances before you begin to lay down the tiles is an easily overlooked step which can prove costly if ignored. Marking the floor or wall with chalk lines is not only quick but will allow you to mark areas that you couldn’t otherwise reach with a tape measure.
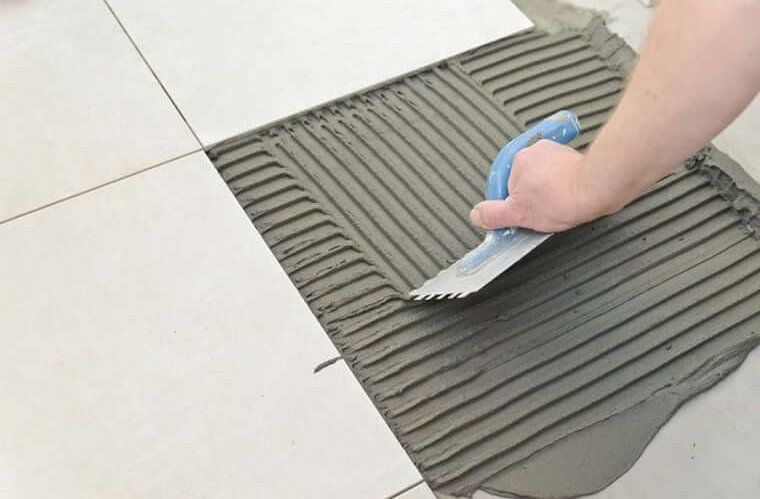
2. Tiling Trowel
The delivery method when laying the thin set motor is very important. An uneven surface will lead to uneven and potentially loose tiles. The best method of evenly spreading and leveling the thin set motor is using a tiling trowel. Trowels are available with different sized notches to produce different levels of thickness. Curved notches are best suited to wall tiling whereas square notched trowels are great for floors as they produce a thicker motor bed.
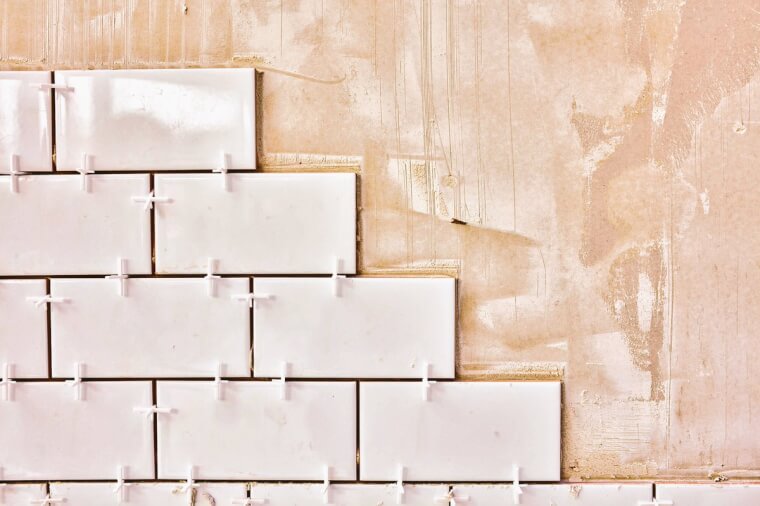
3. Tile Spacers
Finding out the spacing between your tiles is uneven when it comes to the grouting process is something you definitely want to avoid! Fortunately, one simple tool will ensure this disaster doesn’t happen, a tile spacer. During tile installation simply use the tile spacers to be sure your tiles are equal distances apart from one another.
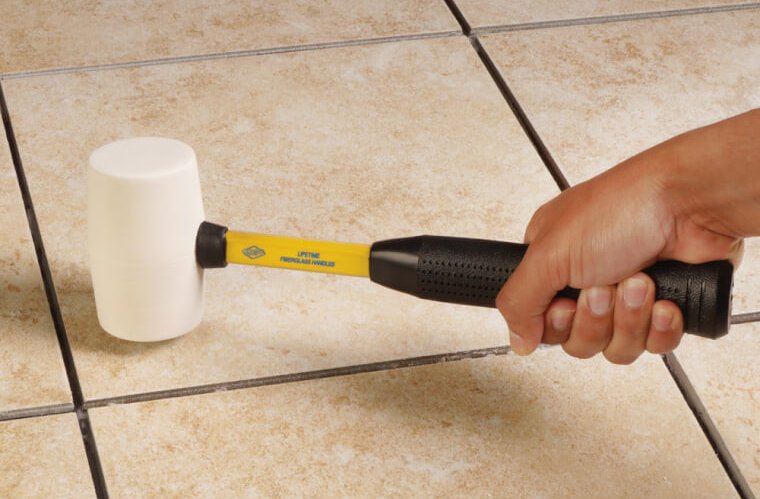
4. Rubber Mallet
When laying your tile over the layer of thin set motor you will need to gently tap it into place. Although you may think to use any old object to do the job you run the risk of cracking the tile. Investing in a rubber mallet will ensure zero mishaps and is without a doubt the most reliable and efficient method of tapping and securing each tile into place.
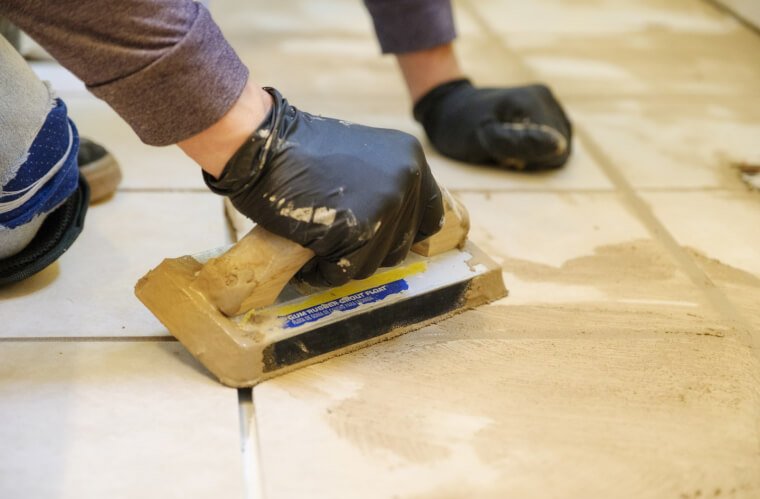
5. Grout Float
When it comes to applying grout, there is only one sensible tool to consider, a grout float. Cheap to pick up and super easy to use, a grout float will evenly push the grout into the gaps between tiles and features a rubber base to protect your newly laid tiles against damage.
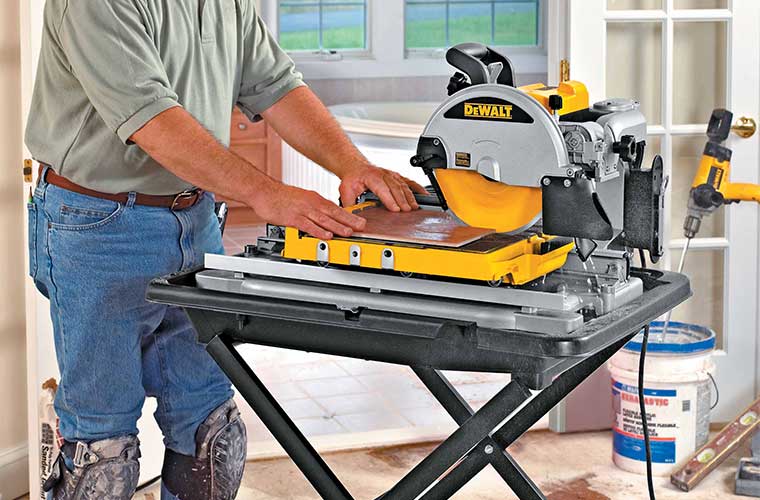
6. Wet Tile Saw
Simply the best tool for cutting tile. If you want the job done to the highest level you need to invest in one of these! Wet tile saws feature a diamond covered blade and water delivery system that delivers water to the blade during use, making certain each cut is made to the highest quality and reducing the chance of tile breakage by minimizing friction.
Find the best wet tile saws here
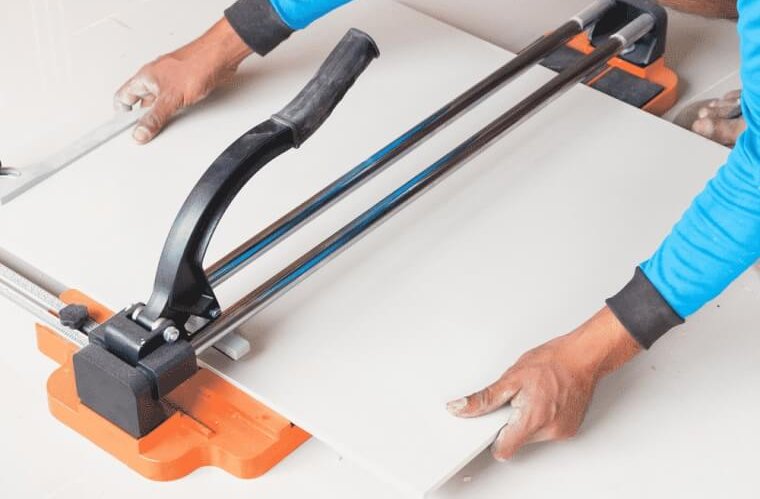
7. Manual Tile Cutter
A manual tile cutter is a valuable tool to have for tile installation projects. They are extremely portable and easy to use making them a great option no matter the size of the job or the user experience level. Another huge benefit is that they produce minimal noise and mess, which is not only great for you but your neighbors as well! You can’t go wrong with sturdy manual tile cutter for producing both straight and diagonal cuts.
Find the best manual tile cutters here
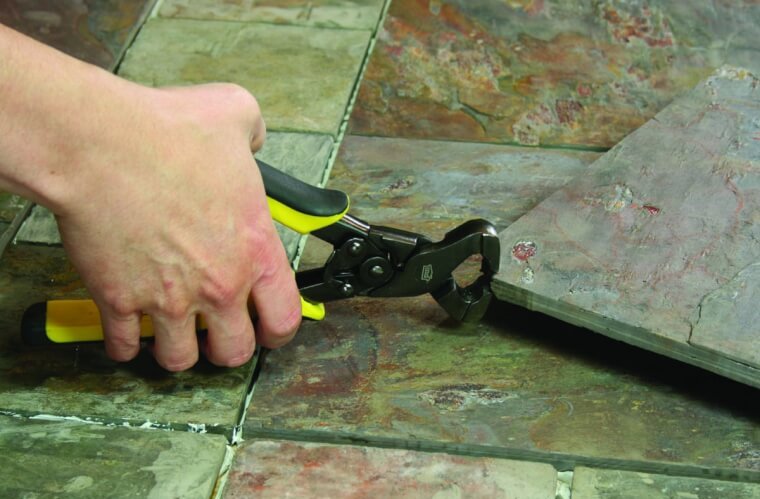
8. Tile Clippers
You’ll most likely need to make the occasional small and irregular cut when working near and around objects or reaching the end of a wall or floor. Odd cuts such as semi-circles simply aren’t possible with a manual tile cutter and an electric cutter may not be the most convenient option. A handy pair of tile clippers can really speed up the installation process and make working around obstructions a non-issue.
9. Paddle Mixer
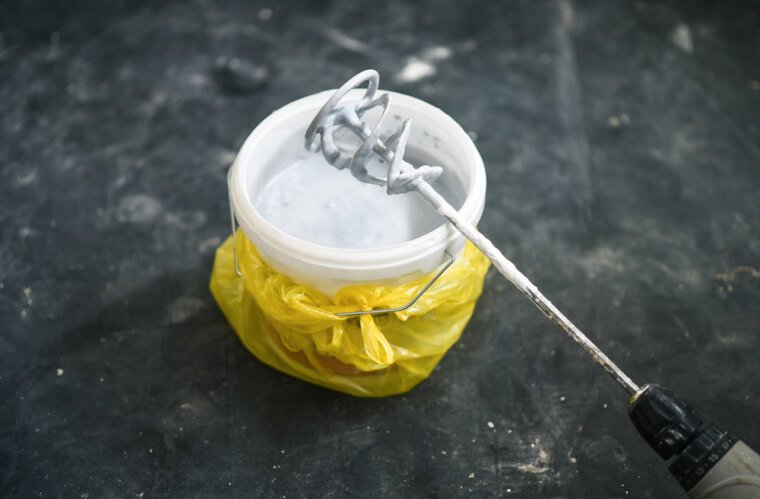
Although you can use pretty much anything to mix up your adhesives and grout, a paddle mixer (which fits most drills) is highly recommended when you need a large batch as it will save you time and make sure the mix is completely consistent.
10. Oscillating Multi-Tool
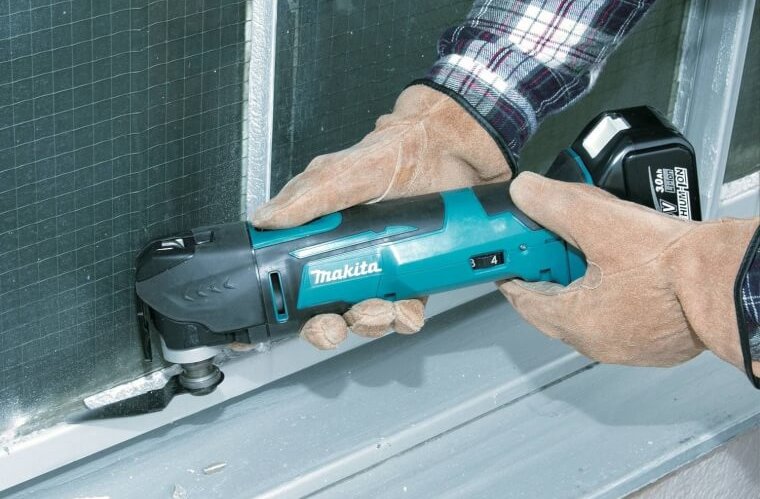
Simply put, you won’t find a more versatile tool. The vast array of attachments on offer make it able to tackle many jobs, a few of which may crop up during tile installation and removal. Jobs such as cutting tile, grout removal to remove broken tiles and removing thin-set mortar ready for putting down a new layer for laying down new tiles are all easy to perform with this one tool.
Find the best oscillating multi-tools here
11. Spirit / Torpedo Level
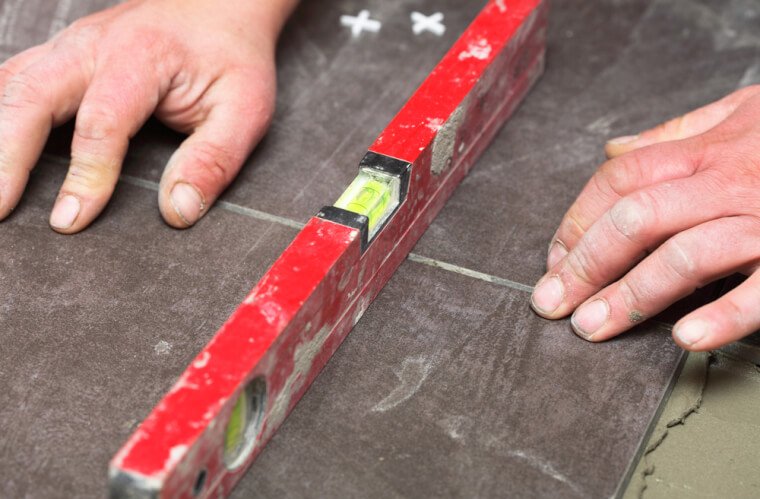
If you don’t already own a spirit level you should! These instruments are handy for nearly any job you can think of. A torpedo level is just a smaller variant of a spirit level designed to fit into smaller spaces, making it very useful during tile installation!
Find the best torpedo levels here
12. Buckets
You will need a couple of rubber or plastic buckets. One will be used for when you remove the grout from the tile surface using your grout sponge. A second is needed if you plan to use a powdered base thin set motor which of course you will need to mix yourself. Make sure they are big enough to prevent spillage and maybe look for those with a measurement gauge on the side to guaranteed correct quantities when mixing.
13. Grout Sponge
The aftermath of grout application will leave grout covering your tiles, not to worry! A grout sponge will make quick work at cleaning up your tiles and revealing your newly and expertly laid tiled wall or floor! A standard sponge will not be adequate. Make sure you have a dense grout sponge on hand ready to clean up those tiles!
14. Angle Grinder
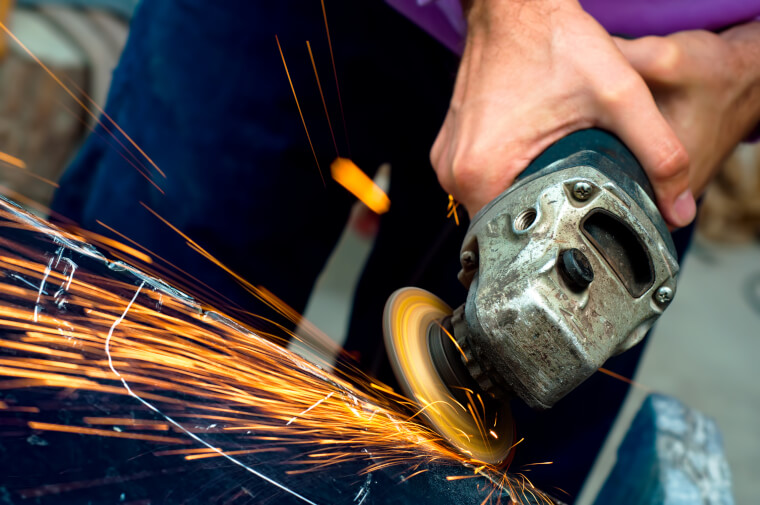
Although not commonly associated with cutting tile, an angle grinder with a diamond blade will deliver pristine and sharp cuts that will satisfy even the most experienced tilers. A real hidden gem and one we definitely recommend you try for yourself!
Reader Interactions