The method of patching the ceiling is not the same as the wall. Not only is access farther away to the problem spot, but the way that the wall holds patch will differ.
Minor Hole Filling and Patching
Fixing ceiling holes is not an uncommon task. The breaches in the panel are usually due to where a point of attachment, like from a toggle screw, have been removed.
The trick to repairing small holes, of approximately 1″ or less, on the horizontal surface, is found in the preparation and the patch.
Step 1
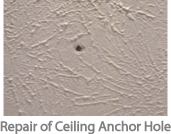
Threaded drywall anchors can simply be unscrewed as can metal toggle bolts, and the screws of molly bolts can be turned back out but the internal part should be punched through, as with threaded toggles in common use with builders like for hanging wire shelving.
With plastic expansion anchors, the screw counterpart should be pulled out with needle nose pliers after screw removal or punched through with a nail tap.
In any case no part of the attachment should be left stuck within the wallboard, it will change the quality of the patch.
Step 2
Determine if the hole must be mesh taped. If the resulting exposed hole is a half inch or under, you can probably get by with a straight patch.
If the hole is larger and/or it has a questionable makeup then taping is suggested.
Make room for the tape by scraping beyond the actual hole if this is not a flat drywall surface. You will also have to balance the location and orientation of the patch with texture to be matched, if it exists.
But smaller holes generally don’t need this and can be concealed quite readily.
Step 3
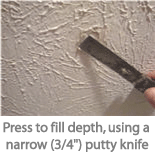
There is no need to create larger messes by mixing in a pan and, the hot mudd does result in a tougher cleaning chore.
Favor a thicker mix, less apt to the effects of sagging.
Step 4
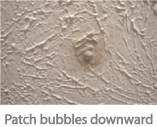
At first, the patch will bubble downward, as it does on wall repairs, but that’s alright.
The droop will sink back to concave during the dry cycle.
Step 5
When dry, for sanding – fold a small square of sandpaper and lightly abrade with the pressure of your forefinger in a tight circular motions.
Step 6
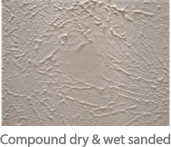
Sand with a combination of the sand paper or a sponge block to establish the combining level. It may help to wet sand to get a match.
Repairing Large Damaged Ceilings
If the repair is on the uppermost ceiling and it supports insulation, before beginning, the insulation must be cleared away and replaced after completion.
Step 1
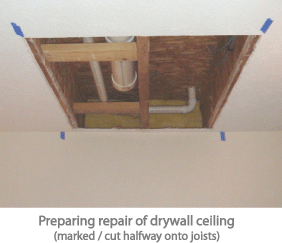
If the patch is caused by water infiltration this must be resolved as should any mold or mildew before closing the ceiling back up. The ceiling board should be thoroughly dry.
If the borders of the repair are close to joist over a duration, these may need to be cut back halfway as shown in the photo (marking with a pencil and straight edge — with outer guides of blue tape to prevent unwanted pencil deposits beyond the completed fix.)
Step 2
Transfer the ceiling measurements to be patched with a tape measure onto a spare sheet of wallboard. Cut the piece out and shave the sides straight with a rasp if they are out of order.
Step 3
Hold up the new cut over the opening on the ceiling, to serve as a template and mark with a pencil around the replacement for cutting.
Saw out the tracing barely oversized, to accommodate for a difference of increased size with the replacement.
Step 4
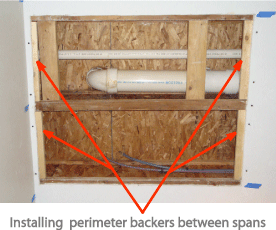
f the patch is near a joist, and you are able – aligning the cut patch halfway onto the 1-1/2″ joist.
For smaller repairs, place clips on each side at the minimum, or attach with backers.
Step 5
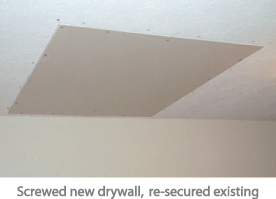
If clips are set, be careful not to over-tighten the screws.
Consider a lift for hoisting larger/numerous sections.
Step 6
Apply joint compound to the seams and apply paper tape resulting in at least and inch and a half overlap at the corners.
Later, knock down high points of the dried compound with a hand sander, for an even grade throughout. Then mudd again and sand smooth.
For using adhesive mesh, press the strips overlapping in the same fashion and then apply the compound. Give a nominal sand of high-points, then re-coat and finish sand.
Reader Interactions