There are different ways of finishing outside drywall corners, but traditionally they have always been done with nail-on metal corner beads.
While this offers great protection, it is not the most efficient way of finishing the corners and is time intensive.
That’s where the paper faced metal corner bead has made life easier simpler to install.
What You’ll Need
- All purpose joint compound
- Paper faced corner bead
- Drywall knife (4″ preferably – allows for easier control and more pressure)
- Tin snips
- Mud pan
- Stapler (optional)
Step by Step Guide
Step 1 – Cut the corner bead to length

The quickest way to measure and cut the bead is to hold it again the corner where it will be applied.
Cut a snip in to the paper about half an inch short of height required. This allows for any movement (structural settling) on the above ceiling over time, so the bead don’t end up cracking.
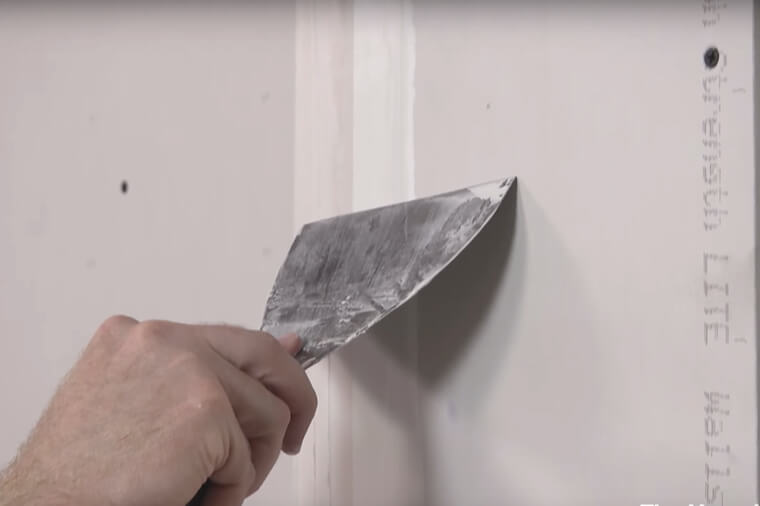
Step 2 – Apply mud to the corners
Tip: When working with paper backed metal beads – adding more water to make the mix more viscous will make manual leveling easier later on.
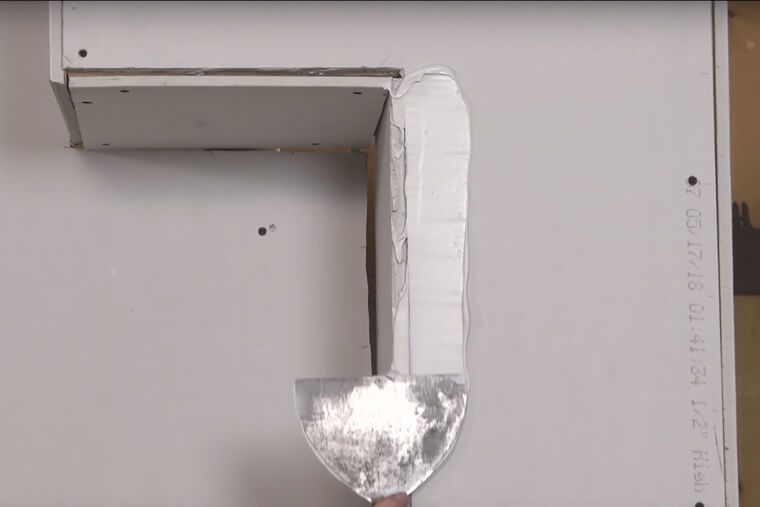
Step 3 – Place & position the corner bead
Position the bead in place making sure to leave a small gap at the top and bottom.
Use your fingers to press the bead in to the compound so that it sticks in to position.
Tip: Before placing – spraying a little water to dampen the underside of the paper helps create a better bond with the all purpose mix.
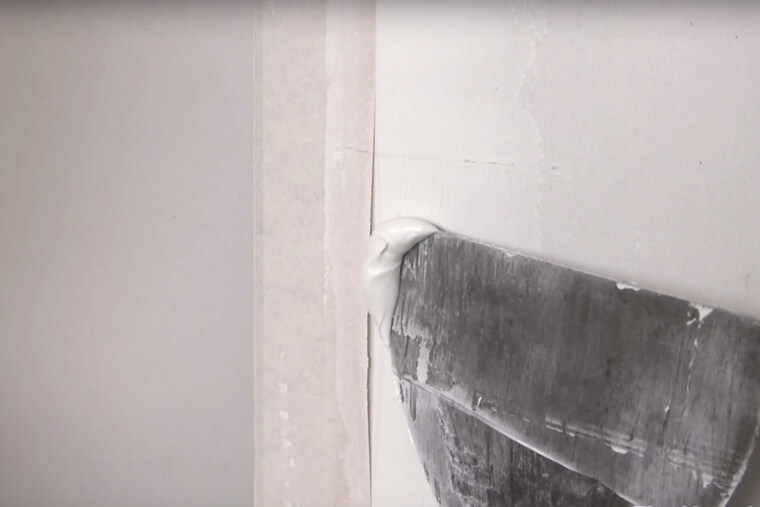
Step 4 – Press the edges in to the compound
Using the taping knife – clean the excess compound while pressing the edges of the bead in to the compound using a gentle pressure.
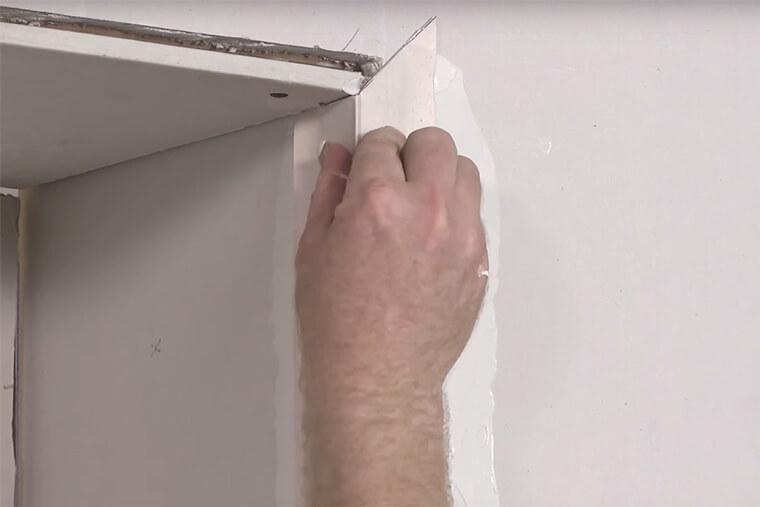
Step 5 – Check the corner
Before moving on – using the taping knife as a straight edge to check the corner of the bead protrudes slightly on each side.
There should be a very small gap which leaves room for fill later on.
If there is no gap – you can use your fingers to press out any extra compound and position the bead again.
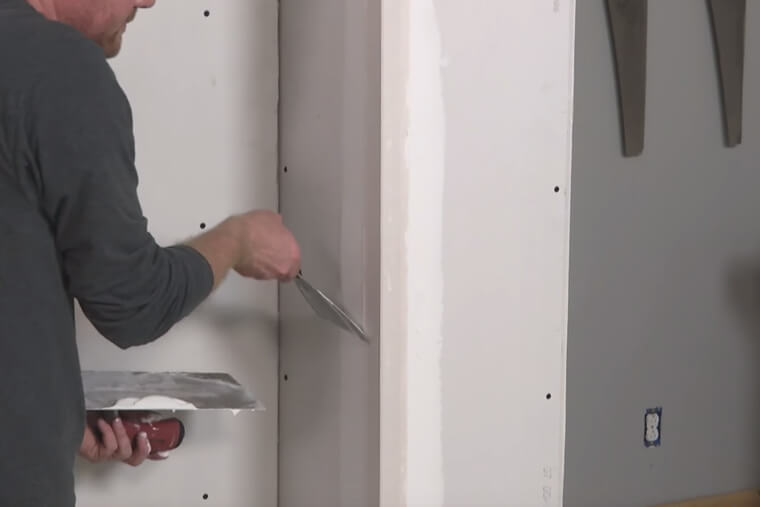
Step 5 – Clean and embed the bead
When you’re happy that the bead is in position, use the taping knife at a 45 degree angle to swipe along the paper with slightly more pressure to fully set the bead in to position.
This squeezes any extra compound remaining as well as removing any air pockets.
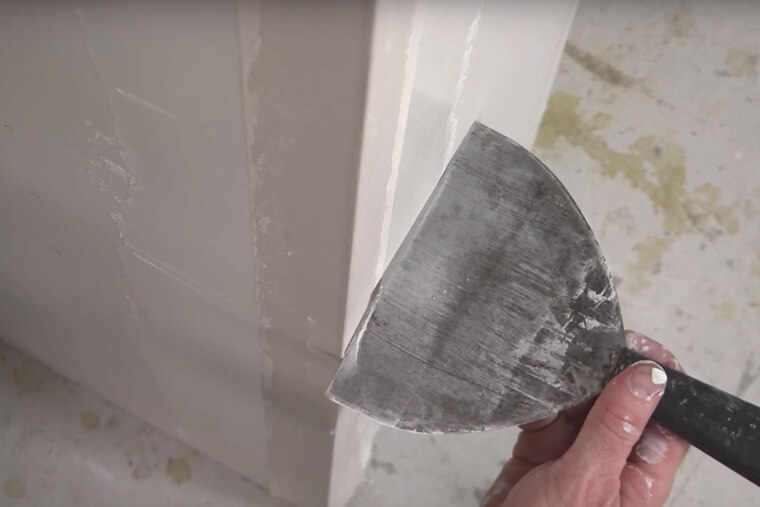
Step 6 – Check and fill any gaps
Check the full length of the bead to make sure there is no air pockets remaining.
If there is – simple lift the edge of the paper, apply more compound and reset with the taping knife.
Step 7 – Allow to dry
When finished and you’re happy – allow the compound to dry before applying any finish coats to the bead.
Other Drywall Guides

Reader Interactions