A planer is an incredibly useful tool if you are someone who prefers to buy rough lumber. If you are just getting set up with your planer, or are looking to buy one, this guide will help you understand and get to grips with the basics.
Safety first
The safety conditions for using a planer are the same as every other woodworking tool. Good eye protection, hearing protection and I normally recommend short sleeve shirts, but i know that’s not the reality with all the unheated workshops there are. So at the very least have tight fitting clothing so nothing gets caught.
A jointer or a planer?
I often get asked the question, what should I purchase first? A jointer or a planer? And my answer is always a jointer.
The reason is a planer is for thicknessing wood. It does not make it flat.
Some new woodworkers are under the misconception that a planer flattens wood. There is a way to flatten wood with a planer but that’s not its purpose.
Knowing the basics
Width
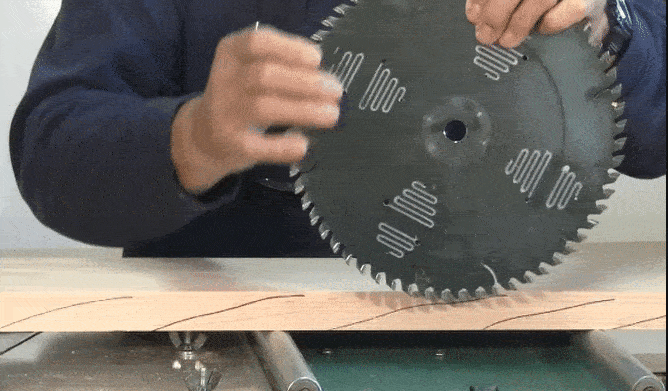
Knowing what size planer you have or want is important as it will determine maximum width of the boards you can put through it.
Front or back
Every benchtop planer or a stationary planer, has a in feed and an out feed. It might sound stupid, but make sure you known the in feed from the out feed.
Some planers have rollers on top so you can run the wood back if you had two people planing, or if its by yourself its just a place to hold wood so you can readjust the height and make another pass.
Inserting
To adjust the thickness of a planer, you always put the flat side of the wood down because the cutting heads are almost always on the top and the way you adjust the height, there is usually some sort of a wheel or a crank that will adjust the height of the head.
Tip: If you’re doing multiple boards or if you’re just doing a single board that is not the full width of the planer, a very handy tip that helps the blade wear evenly is to make sure you use a different section each pass.
How to eliminate sniping
One of the problems with planers is something called snipe, and that’s were the knifes take a little bit of an extra cut out of one side or the other, or both.
The way you can eliminate that is to have another piece of scrap wood, that’s the same thickness and you run that through first of all, then butt your good piece right up next to it and push it through, and when it goes through, you can move the scrap from the out feed and put it on to the end of your good piece and that will eliminate snipe on your boards.
 How to avoid grain tear out
 How to avoid grain tear out
One of the common issues with planers and jointers is grain tear out. Grain tear out is what happens when the blades are running against the grain of the wood, they actually tear the grain out, hence the term. And this planer, the blades would be running exactly the way i’m showing and you can see how it would be running against the grain, it’s running against the tops of each of these grain lines that iv’e drawn here.

But by simply turning the board around like this, now you can see how those blades are now running with the grain, because they’re just skimming the tops of those lines that i have put on there. That’s how you avoid tear out by running with the grain.

Reader Interactions